How to Access my.router and Connect to Your Router
Accessing your router’s settings is essential for configuring your home network, improving security, and troubleshooting issues. The my.router address is a convenient way to reach your router’s admin panel for supported models. This article explains what my.router is, what you need to get started, step-by-step instructions to access your router, and how to connect your devices securely.
What is my.router and Why Do You Need It?
my.router is a default local web address used by some router manufacturers—most notably Netgear—to provide quick access to the router’s admin interface. Instead of typing your router’s IP address (such as 192.168.1.1), entering my.router in a web browser’s address bar brings up the login page for supported routers. This address operates only within your local network and is not accessible from the internet.
The main reason to access my.router is to manage your home network settings. Typical actions include changing your Wi-Fi password, updating firmware, setting up parental controls, and configuring security features. Accessing my.router is also important for troubleshooting connection problems and optimizing your network for better performance.
If your router does not support my.router, you will need to use its specific IP address. Always refer to your router’s manual or label for the correct access details.
What You Need Before You Start
Before attempting to access my.router or connect to your router, ensure you have the following:
- A supported router model: Most commonly, Netgear and select other brands use my.router. If you’re unsure, check your router’s documentation.
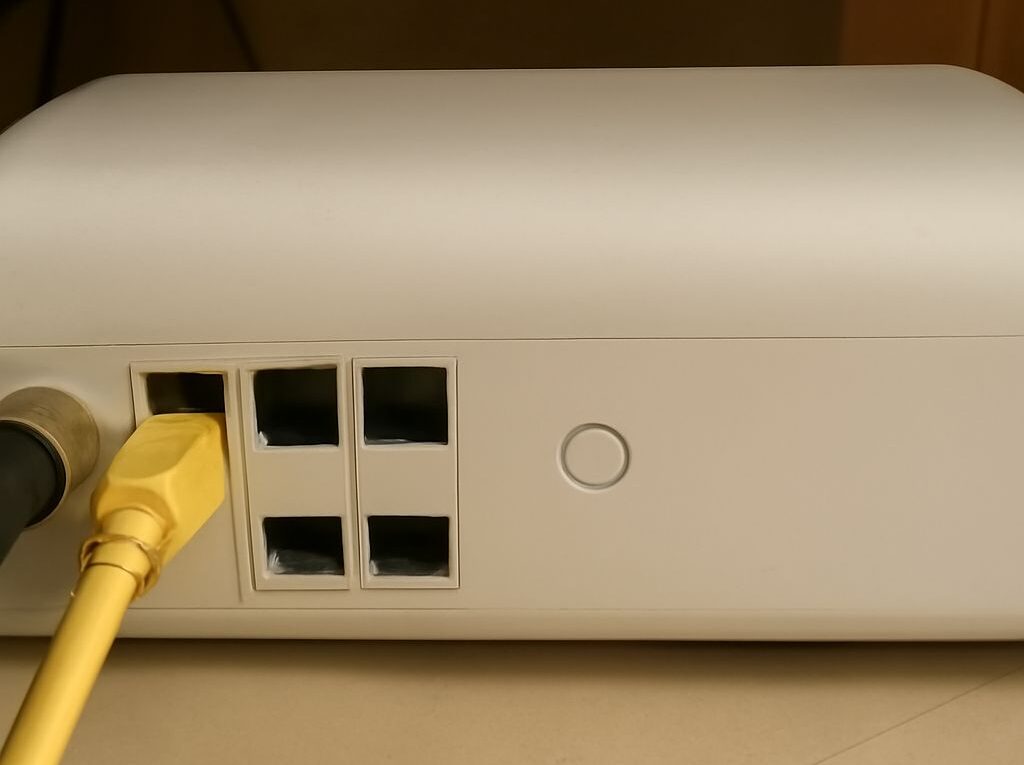
- A direct connection: For the best results, connect your computer or device directly to the router using an Ethernet cable. Wireless connections also work but may be less stable during setup.
- Admin login credentials: The default username is often admin and the default password is password, but these may vary. This information is typically found on a sticker on the router or in the manual. If changed previously, use your custom credentials.
- A web browser: Any updated browser like Chrome, Firefox, Edge, or Safari will work. Ensure your browser does not autofill or alter the address as you type it.
It is also recommended to have your router’s model number and current firmware information handy in case you need to look up troubleshooting steps or perform an update.
Easy Steps to Access my.router
Follow these steps to access the router’s admin page using my.router:
- Connect your device to the router: Use a wired Ethernet connection for the most reliable access. If this is not possible, connect via Wi-Fi using the default network name and password.
- Open your web browser: On your connected device, launch your preferred browser.
- Type “my.router” in the address bar: Enter my.router (not a search box) and press Enter. If this does not work, try the router’s default IP address (like 192.168.1.1 or 192.168.0.1).
- Enter your admin credentials: When prompted, input the default username and password or your custom credentials. If you have forgotten them, use the router’s physical reset button to restore defaults (refer to the manual for instructions).
- Access the settings: Once logged in, you can configure network options, update firmware, and change advanced settings as needed.
If my.router does not resolve, clear your browser’s cache, ensure you are connected to the correct network, or restart the router. Some routers may require you to disable VPNs or proxies to access the admin page.
How to Connect Devices to Your Router
Connecting devices to your router gives them access to your local network and the internet. There are two main methods: Wi-Fi (wireless) and Ethernet (wired).
To connect via Wi-Fi:
- Find the default Wi-Fi network name (SSID) and password on your router’s label or in its documentation.
- On your device (laptop, phone, tablet), open the Wi-Fi settings and select your network’s name from the list of available networks.
- Enter the Wi-Fi password exactly as shown (case-sensitive) and connect.
- Test connectivity by opening a website or using an app that requires internet access.
To connect via Ethernet:
- Plug one end of an Ethernet cable into your device’s Ethernet port and the other into one of the router’s LAN ports.
- Your device should automatically detect the wired connection and gain network access. No password is needed for Ethernet.
- Verify the connection by checking network status or browsing online.
For security, change the default Wi-Fi password in your router’s settings through my.router after your initial setup. Enabling WPA2 or WPA3 encryption is also recommended to protect your network from unauthorized access.