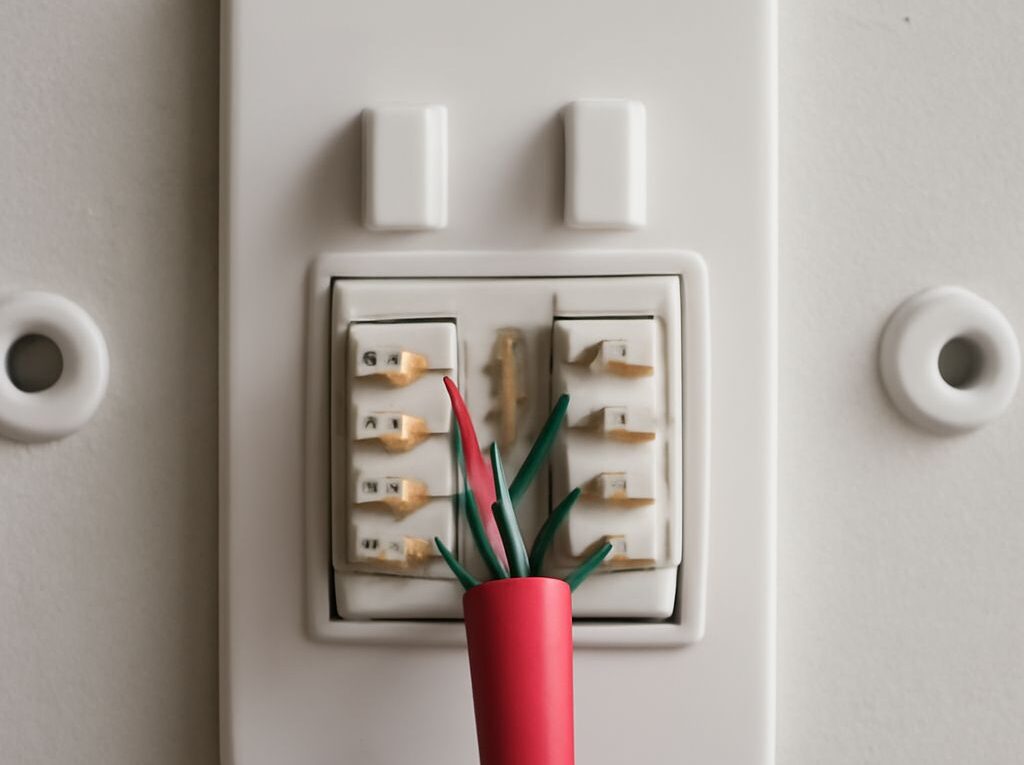
Cat5 vs Cat6 connectors: choosing plugs, jacks, and terminating Cat5e, Cat6, and Cat7 cable
Cat5 vs Cat6 connectors usually share the same 8P8C plug geometry, but their conductor capacity, pair management, shielding, and electrical ratings can differ. A Cat6 label on a plug or jack does not upgrade Cat5e or Cat5 cable; the finished channel must be assembled from compatible, correctly terminated components.
The familiar term RJ45 is commonly used for Ethernet connectors, although the physical interface is generally an 8P8C modular plug and jack. The correct choice depends on the cable’s conductor size and construction, whether it is shielded, and the category performance required for the permanent link and channel.
Cat5 vs Cat6 connectors: same 8P8C geometry, different ratings
An 8P8C connector has eight contact positions for the four twisted pairs in balanced Ethernet cable. Cat5, Cat5e, and Cat6 plugs can therefore look interchangeable. That shared shape only establishes mechanical compatibility. It does not establish the insertion loss, return loss, or crosstalk performance needed for a category-rated link.
Category performance depends on the complete channel: the horizontal cable, patch-panel or wall jack, modular plug, patch cords, and connecting hardware. A channel is usually designed around a permanent link of up to 90 metres plus patch cords, with a typical total channel limit of 100 metres. The applicable cabling standard and component specifications determine the actual limits.
Cat6 connectors commonly include features that help control high-frequency performance:
- Conductor capacity: Cat5e cable is often 24 AWG, while Cat6 cable is commonly 23 AWG and may have thicker insulation. A Cat6 plug must accept the cable’s actual conductor and jacket diameter.
- Load bar: A load bar or wire manager holds conductors in a controlled position and reduces pair displacement near the plug contacts. This helps preserve pair geometry and limit crosstalk.
- Pair separation: Cat6 cable may include a central spline or separator. It is normally removed only as far back as the termination instructions require.
- Contact design: The contact arrangement and plug body must suit the conductor diameter and insulation thickness. A plug that accepts eight wires may still be unsuitable for a large Cat6 cable.
For a Cat5e or Cat6 installation, the jack and plug should carry a matching or higher applicable rating. A Cat6-rated jack paired with an unrated or poorly matched plug does not make the connection Cat6. Likewise, using a Cat5e jack in an otherwise Cat6 link can make the completed channel unable to meet Cat6 performance.
Cat5e vs Cat6 vs Cat7: match cable, plugs, jacks, and shields
The practical differences among the cable categories are best handled by matching every component to the same installation target.
- Cat5: Legacy Cat5 components may be found in older installations, but new Ethernet work generally uses Cat5e or better. The older category should not be assumed to support the performance of a newer cable simply because the connector fits.
- Cat5e: Cat5e components are widely used for 100 MHz structured cabling and ordinary gigabit Ethernet channels. They commonly accommodate smaller conductors and are available in both unshielded and shielded forms.
- Cat6: Cat6 components are designed for 250 MHz channel performance when installed with suitable Cat6 cable and workmanship. Cat6 plugs often provide a load bar and a larger cable-entry area for 23 AWG conductors, but the manufacturer’s diameter range still controls compatibility.
- Cat7: Cat7 is an ISO cabling category, often implemented with individually shielded pairs and an overall shield. Cat7 systems may use TERA or GG45-style connectors rather than ordinary 8P8C hardware. A Cat7 cable terminated with standard 8P8C components may be mechanically usable but should not automatically be described as a Cat7 or Class F channel.
Shielding must also match from end to end. An unshielded U/UTP cable uses ordinary unshielded jacks and plugs. An F/UTP, S/FTP, or similar shielded cable requires shield-compatible hardware that maintains continuity through the plug, jack, patch panel, and any couplers. The drain wire, foil, or braid must be handled as specified by the component manufacturer, and the installed shield should be bonded to the intended grounding system.
Solid and stranded conductors require separate attention. Horizontal cable is normally solid-conductor cable and is terminated on IDC punch-down jacks or on plugs specifically rated for solid conductors. Patch cords are normally stranded and require plugs with contacts designed to grip stranded wire. Some modular plugs are approved for both types, but that approval must be stated on the product specification. A plug that is not rated for the cable’s conductor type can produce an intermittent connection even when its pin order is correct.
Before buying a plug or jack, verify the following against the cable jacket and manufacturer data:
- Category rating and applicable wiring standard
- Solid, stranded, or dual-conductor compatibility
- Conductor and insulation diameter range
- Shielded or unshielded construction
- Plug, jack, and patch-panel compatibility
- Whether a load bar, spline, cap, or special termination tool is required
Cat6 termination diagram: T568A/T568B wire order and termination steps
The two approved pin assignments are T568A and T568B. Either produces a straight-through cable when used at both ends. The important rule is to use the same scheme at both ends of a cable unless a deliberate crossover connection is required.
T568A, pin 1 through pin 8: white/green, green, white/orange, blue, white/blue, orange, white/brown, brown.
T568B, pin 1 through pin 8: white/orange, orange, white/green, blue, white/blue, green, white/brown, brown.
The pairs must remain intact: pins 1 and 2 are one pair, pins 3 and 6 are one pair, pins 4 and 5 are one pair, and pins 7 and 8 are one pair. The blue pair is split around the centre of the connector in both standards, so following wire color order without preserving the pairs can create a split pair and severe crosstalk.
To terminate a Cat6 modular plug:
- Confirm the plug: Check its Cat6 rating, conductor-type approval, conductor diameter range, shield design, and load-bar requirements.
- Prepare the cable: Cut the cable square. Remove only enough jacket to arrange the conductors. Keep the twists close to the plug; approximately 13 mm or less of untwist is a common Cat6 workmanship target, unless the connector instructions specify a shorter limit.
- Manage the pairs: Remove the separator or spline only where necessary. Arrange the conductors in T568A or T568B order while keeping each pair together until the final arrangement.
- Use the load bar: If supplied, place the conductors into the load bar in the specified order. Trim the wire ends evenly so they enter all eight contact channels together.
- Capture the jacket: Push the conductors fully into the plug so the wire tips reach the front contacts and the cable jacket extends inside the rear strain-relief area. The strain relief must grip the jacket, not just the individual wires.
- Inspect and crimp: Confirm the order through the transparent plug, then use the correct crimp tool. The contacts should pierce the insulation consistently, and the latch and strain relief should remain undamaged.
To terminate a Cat6 jack or patch-panel port:
- Strip the jacket only as far as needed and keep the pairs twisted as close to the IDC terminals as practical.
- Follow the T568A or T568B color label printed on the jack. Do not substitute a plug pin sequence for the jack’s labeled terminal layout.
- Seat each conductor fully in its IDC slot, preserving the pair grouping and avoiding exposed untwisted wire.
- Use the specified punch-down tool, or engage the jack’s tool-less cap if provided. Trim conductor ends cleanly and secure the cable jacket under the jack’s strain relief.
- For shielded hardware, install the foil, braid, drain wire, and shield clamp according to the jack instructions so the shield remains continuous.
Inspect and test the completed Ethernet channel
Inspection should take place before the cable is connected to active network equipment. At a plug, check that all eight conductors are in the correct order, reach the front of the connector, and remain beneath the contacts. Check that the jacket is captured by the strain relief and that no pair has been pulled apart farther than necessary.
At a jack or patch panel, check that each conductor is fully seated in the correct IDC position, no insulation has been trapped under the terminal, and the jacket is secured. For shielded links, inspect the shield clamp and drain path at both ends. Also verify that patch cords, couplers, and patch-panel modules have the required category and shield ratings.
A basic wire-map tester should confirm:
- Continuity on all eight conductors
- Correct pin-to-pin order
- No open, short, reversed pair, or crossed pair
- No split pair, which requires checking pair identity rather than continuity alone
A wire-map result is necessary but does not prove Cat6 performance. For a category-rated installation, a qualified certification tester should check the applicable permanent-link or channel limit, including insertion loss, return loss, near-end crosstalk, far-end crosstalk, length, propagation delay, and delay skew as required by the cabling standard. Test the complete installed channel, including patch cords and connecting hardware, because a correctly crimped plug can still be part of a channel that fails its category rating.